Photobucket Photobucket Photobucket Photobucket Photobucket

1.28.2011

perfect pinwheel garland! (a tutorial)

let's make something super cute and EASY!


all you need:
scissors
paper cutter
pencil
brads
tiny hole punch or "super sharp tool that pokes holes in stuff"(you know?)
yarn, twine or ribbon
tiny clothes pins
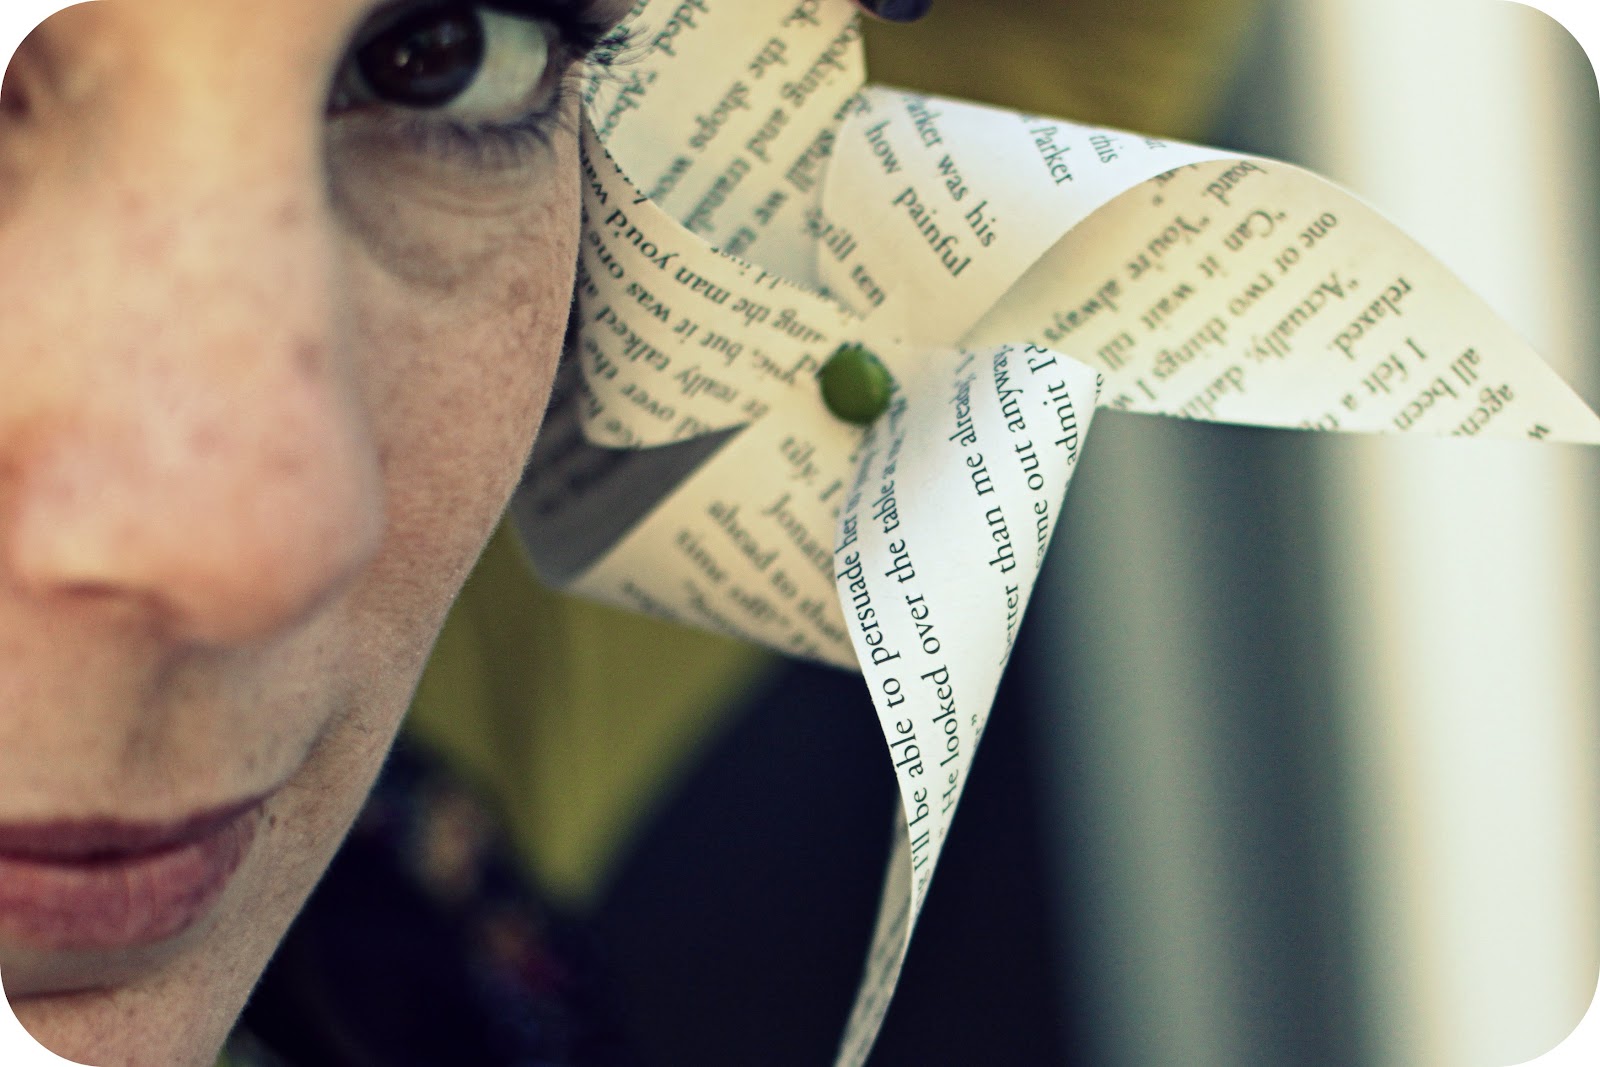
1. cut any double sided paper (used book pages) to 4 1/2 inch squares.
2. with a pencil(i used sharpie on this one, for pictures), make your square look like this.

3. poke holes where the dots are.

4. cut on the lines until your scissors are about half an inch away from the middle hole.


5. stick the brad through each corner hole and then finally through the middle, and secure it.


6. now cut your yarn and clothes pin those little guys on there.

so easy huh?

some notes:

  • with thin book pages i did the pinwheel process with 3-7 pages at a time (just stacked them up)
  • this would be great to do with any leftover supplies from your adorable window valentinesbut if it was double sided card stock, you'd have to do one at a time.
  • i suggest you hang the yarn where you want it and then clip those little pinwheels on after...
Now,  take your daughter outside and take ridiculously adorable photos of her, holding the pinwheels....you know you want to....or just bring her over here and let me do it since i probably want to  more than you do....


enjoy!

1.27.2011

Things I'm loving

Do you remember the game show $25,000 Pyramid? It was on when $25,000 seemed like a million. Well, I only bring it up because my last couple blog post titles "Things that make me cry" and "Things I'm loving" totally sound like categories from that show! Ha. We were into game show watching at my house growing up.

Anyway, here are some things I'm really loving right now. I found the first couple at the local antique mall right after Christmas on super sweet deals. Yes. 

Check out this vintage ceramic tree. See how it came with lots of little plastic lights to put in the holes? Well, you can put some kind of light bulb under the bottom of the tree and they light up. OR, I can create something way cuter next Christmas to put in the all the light spots. That sounds like a fun project to me. I love how the glass is olive with a touch of turquoise and white snow swirled in. Goodbye friend, see you next Christmas. I'll miss you.


 And look at this funny guy. My kids begged me to get this for their dad who kind of loves gnomes. I think he's awesome. He is carved out of a single large block of heavy wood. Doesn't he have the best expression? He lives in the garage and watches over the stereo, dartboard and beer fridge. As he should.


Then I found THIS. A pretty, chocolate brown, woven wicker lady for me to hang my necklaces on. LOVE.


To top off this pretty lady, another pretty lady friend named Cori bought me this for my birthday a few weeks ago. Oh my. Cascades of velvet olive ribbons.
This is so me it's ridiculous.

(btw she got it at a boutique somewhere in Pennsylvania. That's all I know.)


 Fabulous, right?


 Another find - Marshalls - $4.99.  Whatever. Who doesn't need want a cake plate like this?


What's on it, you ask? A special grocery store find. My fav, made better. Valentine hearts.


And finally, I'm loving making these. Yarn flower accessories. I've made this board for my friend and hairstylist, Luna, who said she'd sell them at her station! I made her one for Christmas, and all the salon ladies were envious, I guess.


These are a few of my favorite things. What about you??

{ Linking up today with Kristy and her amazingly cute blog, Paisley Jade }
button2

1.23.2011

I heart Window Valentines {a tutorial!}


{this should be read in the same tone as Chris Farley when he'd do that talk show sketch on SNL}

'Member that time I was the craft coordinator for MOPS? And I was like a baby crafter who just fumbled her way through leading forty women in a craft every week? And 'member how sometimes I would make them do crafts some felt were a little too "advanced", 'cause I really liked crafts? And 'member how half the people in MOPS actually HATED crafts? And some snickered and complained, and then others would just smile sweetly then try to talk me into giving them the samples instead of actually having to do it?

'Member that?

That was awesome.

Well, if I remember correctly, I think making Window Valentines was one of the crafts I led in MOPS that everyone actually loved. It was easy, useful, and successful at all the tables.

Today, my kids are home sick. Boo hoo. But kind of not boo hoo because we had a big bag of Valentine making supplies! So I took pics of each step in case you wanted to be a copy-cat.

These turn out so amazing, and I've made them simpler than in the MOPS days.

I had a little Valentine-making protege too, though she had her own ideas about how hers were going to look. (Of course. Why would I expect anything else?)


[disclaimer for everyone else reading this: I do not scrapbook. I am not a scrapper. I don't have lots of scrappy supplies and cutie bits of things that could make these even cuter. So if you do, go to town. Today I just wanted to get some done with two small people in my midst.]

So here we go. WINDOW VALENTINES

STEP 1: Cut 2 different kinds of paper or cardstock into 5"x7" sheets and find a sharp cutting tool. One of the papers SHOULD be double-sided. (For MOPS, I spray adhesived two coordinating papers together, back-to-back instead. What was I thinking?)


STEP 2: On the back side of the double-sided paper, mark four dots, about 1.5" in from the top and bottom edges at each corner. After you do a couple, you won't have to mark the dots. You can eyeball it.


STEP 3: Using the cutting tool and a ruler, cut an X, connecting the dots.


STEP 4: Stack the "X" paper on top of the other paper. Using a small hole punch, fold back each corner, one at a time, and punch through the point of the top layer and the bottom layer of the card.


STEP 5: Secure three of the four points down with brads. Leave one open so that you can slide in a photo or a note or something.


STEP 6: Secure the last point down with a brad and write your message on the back.


If you don't fold your points past the edge of the base paper (like I did), you can fit these Valentines into 5x7 envelopes for mailing. But I like the points to poke over the edges.

Flip your double-sided paper around and make cards with the opposite colorations too. Here are mine, all ready for my messages of love to finish them off.


I kind of love the one with the 5"x5" piece of paper on top of the 5"x7" one.


Sometimes my experimental ones turn out to be my favorites. I put some fancy chipboard pieces in the window of some of them too. That window just begs for creativity. I wish I had some pretty paper doilies to cut up.


Since I started off with 12"x12" sheets, I was able to cut two 5"x7" cards and two 5"x5" cards out of one sheet. That is a good bargain, since I paid only $0.25 per sheet. Look how cute the square cards look with an old-fashioned photo inside? This is my grandparents. They live in Oklahoma, so I miss them always.


Here are my little friend's creations. Isn't she good? She made 35 Valentines. I love how her choices of paper and her simple ideas became a pile of results. She was really proud of herself.


I know you know this. But perhaps the best thing about projects is not necessarily the result; I may love the sense of accomplishment best of all.

Happy Valentining, friend.


Photobucket
Related Posts Plugin for WordPress, Blogger...