Photobucket Photobucket Photobucket Photobucket Photobucket
Showing posts with label DIY/tutorials. Show all posts

10.01.2011

Paper plates and Breakfast Sliders

....just a couple of my favorite things, perfect for a weekend morning with the family.

Isn't this just two plates full of happiness? Disposable plates, that is. Even in fall colors.


Wanna copy these fun guys?

1 dozen small Hawaiian rolls, cut open
1 chicken sausage, cut on the diagonal into slices and heated in a fry pan
5 eggs, beaten, (scrambled in same pan)
a handful of shredded sharp cheddar cheese tossed on top of hot scrambled eggs
salt & pepper
{serves 4-5}

Voila. Breakfast Sliders. We polished off all of them. Yep. I'm not ashamed. Oh. And everything tastes more delicious to kids if served with toothpicks. A little family swashbuckling took place afterwards. Naturally.

Happy Saturday, friends.

Enjoy the day!

Photobucket

9.28.2011

Fall, 15 minutes, and $5

So, as you know, the fall season and I are friends, simply because we have the same coloring.

It's easy for me to move into the fall season because I've always gravitated to the autumn shades in all areas (primarily because those are the colors that match my hair). I've been grabbing my mustard corduroy skirt and my tartan plaid blazer with delight this past week. It's like greeting old, loved friends in my closet in the fall. (And I remember that I look better fully clothed than in a sundress or shorts. That's just the fact of the matter.)

Last week, I ventured to IKEA and I spied these placemats. I loved that they were cork, and that they were $5. They aren't super cute on their own, but I had plans for these trees....

They were to be adorned with fall fingerprint leaves.


I bet you already have fall-colored acrylic paint in your cabinet. Brown, red, orange and yellow were all we used. And we mixed them, because leaves aren't ever a solid color, are they?

(Note the pile of leaves for jumping in on my daughter's.)


I painted our names on each placemat, along the trunk of one tree. (FYI, my spellcheck is not recognizing the word placemat and wants to change it to playmate or placenta.)


My little guy does NOT like to get his fingers messy, so he was a hard sell on this project. (I don't know ANYONE like that...??) He lasted about 7 minutes before the torture of having paint on his fingers was more than he could stand. I did get a smile out of him though. A half-hearted one.


I was happy to have the remaining two placemats to decorate my big self.


They're sorta flimsy and will probably only last this season, but I still love how they turned out! A couple fall-colored candles in my centerpiece and a white tablecloth made for a very simple and lovely table arrangement.


Five bucks.

Fifteen minutes of fingerpainty fun.

New fall decor.

That's perhaps the best time and money we spent all week.


{linking up with Paisley Jade & Finding Joy}

button2
friday favorite things | finding joy


Photobucket

7.06.2011

A winner and art in progress


The other day, at Cost Plus, I saw a piece of art (image no longer on the site) that I liked, which was not really art. It was a low quality, unsaturated print of a piece of art onto flimsy canvas. And for something that wasn't the greatest quality, it was $129.

And while I'm not an artist, meaning I couldn't paint a picture worth hanging up, this piece was a geometric design. I'm glad I took a second look, because after taking a couple pictures with my phone, I decided to COPY it. And make it better.

This project is not for the faint of heart, by the way. If you don't have the patience for careful measuring, then don't bother. I'm not very creative on my own, but I am close friends with precision. I guess you know that already.

Canvases were half price at the craft store. And I bought this T-square with a coupon.


And dude. I got excited butterflies in my stomach just at the chance to buy one of these.


Where hast thou been, sweet compass from Freshman Geometry? You are so much fun.

{Of course, my kids begged me to use it as soon as I opened it. I said No. Not until mommy is done with her masterpiece. Then I'm okay with someone ruining it within five seconds.}

Just so you know, my craft store total for the tools, paint and canvas came out to $40.00. Yes! $90 LESS than the store version. Happy happiness.

My canvas was 24" x 36". I purposefully bought one with sides divisible by 4, since I knew it would be easiest to measure and mark off a grid of 4" squares.

Then over the my pencil-lined grid, I brushed the whole canvas and sides with a mixture of neutral paints, grey and parchment colors. I left one area unfinished, on purpose. I liked how on the Cost Plus art the pattern sort of faded into an unfinished section on one side.


Then came time for the compass. Did I mention how fun a compass is? I set the radius to 2", and then began swinging my circles over the dried paint, following the grid that still faintly showed through. I drew circles in most every square, and circles centered on the intersections, where 4 squares meet in one corner.


The intersecting circles form these petal-like shapes. And this is where my pretty paints come in.


I'm still in the process of filling the petals in. It is taking longer than I expected (big surprise). But the colors look so amazing. So much better than the Cost Plus version, and fully customized to my house.

I can't wait to find time to finish it this week! I'll for sure post a picture. But it's been a good lesson to learn - you don't know if you can do a project unless you try. It may take more time, but it takes a LOT less money and you get such an incredible sense of accomplishment. I realized I didn't simply copy the Cost Plus art. They gave me an idea, and I made it my own. The result is something I'd much rather hang in my house.


And as for the "i heart summer" giveaway, Erin Woodgate was the winner! Erin, please email me at Lnp0202 at aol dot com and I can mail you your prize!! Aren't you glad you came over from Wildflowers? ;) Yay for you!!


Photobucket

6.08.2011

There's somethin' about matching shirts...


You know you called your friends in elementary school and tried to align days where you wore matching shirts. Maybe they were Esprit, maybe not. I'm just saying that it was cool to wear matching Esprit shirts in my 'hood.

But ever since I heard about a birthday party where they handed out "camp shirts" to the guests, I was inspired to unashamedly copy this genius person and make matching shirts for my daughter and fellow birthday goers last weekend at her camping-themed party.

You know, it made me feel a bit powerful...creating my own legit camp, as defined by the fact that we all matched, grown-ups included. Ours said "Staff" on the backs. I mean, who has a real camp (or team or respectable business) where everyone wears whatever they want?? Matching tees mean you're serious. Seriously awesome. Just look at Target. Don't even apply for a job there unless you have a red shirt and khakis. In case you were thinking of getting a job there.

Anyway, my pal Andrea wanted to know how we made them, so here's how. It was so easy.

1. First you have to buy something like this. This kind is on the JoAnn website.


I couldn't find an image or link, but I bought Jolee's Easy Image Transfer Sheets for Colored Fabrics (by Wilton) at Michaels. I was tempted to buy the transfers for light fabrics because they were half the price...$5 for 5 sheets versus $10 for 5 sheets for the dark fabric transfers. I thought, "What's the difference?" But I'm so glad I did not cheat. A friend told me that she buys the dark fabric transfers no matter what, because the light fabric ones are paper thin and crack easily after washing. 

2. Then you need a computer file. A logo, a photo, a scan...whatever you want. Lay multiples of the design out on a single page in that program if you want more than one image per transfer sheet. My awesome husband designed ours. That's how he rolls.

3. Avoid marital discord by limiting the number of changes you'd like to have done to said design. (Wait, that may just apply to my scenario.)

4. Run a practice sheet of paper through the printer to see if the alignment and coloring is what you want.

5. Then print. I was so impressed at how vivid the colors turned out on the transfer paper. So saturated.  

(The rest is according to the directions on the package, so it may vary from brand to brand. What I had to do was the following.)

6. Cut out each image with smooth, clean cuts. Notching the transfer, or giving it a fancy edging will make it likely to tear when peeling off the backing.

6. Iron a pillowcase for under the garment, then briefly iron the garment to smooth the surface.

7. Peel backing off transfer. This part took the most time and I had to be really careful not to stretch out or tear the transfers.

8. Place transfer on the shirt facing up, place a piece of parchment on top of the transfer (included), and press the super hot iron (no steam) down for 20 seconds in each area until you've covered the whole transfer. Done.


9. Oh yeah, and try not to faint from the (probably) toxic fumes given off by the melting plastic. (That step may also be just for me, given my unfailing "super-nose.")

Cute and simple, huh?
Doesn't it just make you want to call your best friend from elementary school?? (Niki, I'll meet you at the Esprit store in the mall.)


Photobucket

5.26.2011

a child's drinking glass tutorial: just in time for summer!

hello lady friend!
i saw this idea on pinterest and just had to figure it out for myself....
and surprise surprise, it's suuuuuper easy!
you are going to love it!

supply list:

kerr quilted crystal jelly jars (you can get these at walmart or albertons)
                    (click to buy online)
straws (the ones in the photos are from the seasonal area at CVS, but i love these too)

hole punch (just a normal one, but not to old or rickety)

***when i started this project i already had the little jelly jars for glasses (so cheap and hard to break!) but i had thrown out the lids...so i went to walmart to replace the lids and bands...i got two kinds....

optional: kerr lids with bands or better homes and gardens canning lids


all you have to do is decide where you want the hole and punch it...really hard.
really really hard.
and if it doesn't go all the way through, turn it over and try again.


be careful little lady!
there may be a part of the punch that is more dull than others so you may need to stick a pencil through the half punched hole and then bend that little hanger-on-er back and forth a bit.
you can do it!


if you want to, this is the time you can trim your straws.
my star ones started at 11 inches and i trimmed them down to 9 inches.
the red stripey ones are 9 inches to begin with.

now fill you jar with a drink,
stick that lid on the jar,
and the rim on top of that and insert your straw!
soooooo cute, right!?


here is a little footage of the reed kids enjoying them...


Photobucket

2.12.2011

DIY: Kids "Little Junk" Jars


My son’s bathroom was filled with little junk. Little junk that had no home.
Q-tips.
Teeth flossers.
A collection of broken seashells he insisted needed to live in the bathroom.
Tiny plastic sea animals.
Little stuff driving me crazy.


So I had this idea. I had bought two metal strips at Crate & Barrel not long ago, meaning to hang them in my kitchen.


I thought I could magnet recipes up when I was cooking. But the strips didn’t fit anywhere. (I sometimes buy things because I like the idea and then can’t find a place to put them. It’s not a good practice.)
So. I thought about those unused metal strips. I thought about the little junk. And I dreamt about how I could magnet all the little stuff, CONTAINED, to the metal strips. My solution:
Baby food jars.
Hence, my DIY: Kids “Little Junk” Jars.
Just think of all the things you can put in these babies. All the things that bug me would fit perfectly: marbles, coins, erasers, hair clips, hair elastics, Barbie shoes, Polly Pockets, or any of those tiny toys you step on and find every place in your house.
One more thing contained = one less thing to annoy me and stay off the floor.
Here’s what I did to combat the little junk in one corner of our house.


Step 1: Wash out and dry baby food jars. I used 4 oz. and 8 oz. ones. The larger size was perfect for Q-tips and disposable teeth flossers. I soaked the jars in warm water before removing the labels. You don’t even need to clean off all the adhesive gunk because you will cover it later.
Step 2: Sand the lids until matte and the words start to come off. This is the project that almost wasn’t, because at first I couldn’t get the hot glue to stick. The lids have a waxy coating on them, and that needs to be sanded off in the center of the lid.


See the before and after, with the sanded one on the right? That’s how it should look. It only takes a minute.
Step 3: Hot glue a large magnet to each lid. Small magnets weren’t strong enough to hold up the jars. I got these big guys at the hardware store. They worked perfectly.


Step 4: Wrap the jars with colored tape (also from the hardware store). I gave mine blue and white stripes to match the bath rug. This is the trickiest step, to get the tape to wrap straight. I figured out the trick though, after my first couple:


Lay the jar on its side, hold the tape out taut with the end stuck to the jar and the roll pointing towards you. Then slowly roll the jar away from you, wrapping and adjusting the straightness of the tape as needed. Cut the tape off about ¼” after overlapping the starting point. Start the next piece at the same point. Repeat to make patterns and to cover the gunk on the jar (if you were lazy and didn’t get it all off in the first place. Like me.).
Step 5: Fill your jars with little junk, breathe a sigh of relief when you screw the lids on, and stick the jars to whatever metal surface you can find.


See how you can see the contents easily for when your little friend needs a (kid-safe) Q-tip or a yellow plastic puffer fish?


In case you’re interested, here's the link for the metal strips. They even come in cool colors! But you could use anything metal...they sell metal magnet boards everywhere these days. You probably already have one.
These jars aren’t the cutest, craftiest things in the world. But especially for a boy’s room, I almost prefer the simplicity. See?


Simple. Very quick and easy to make. Hard to destroy. Boyish (you could make them girlish too, of course). And practical. That’s my kind of DIY.
Have a good weekend!

1.28.2011

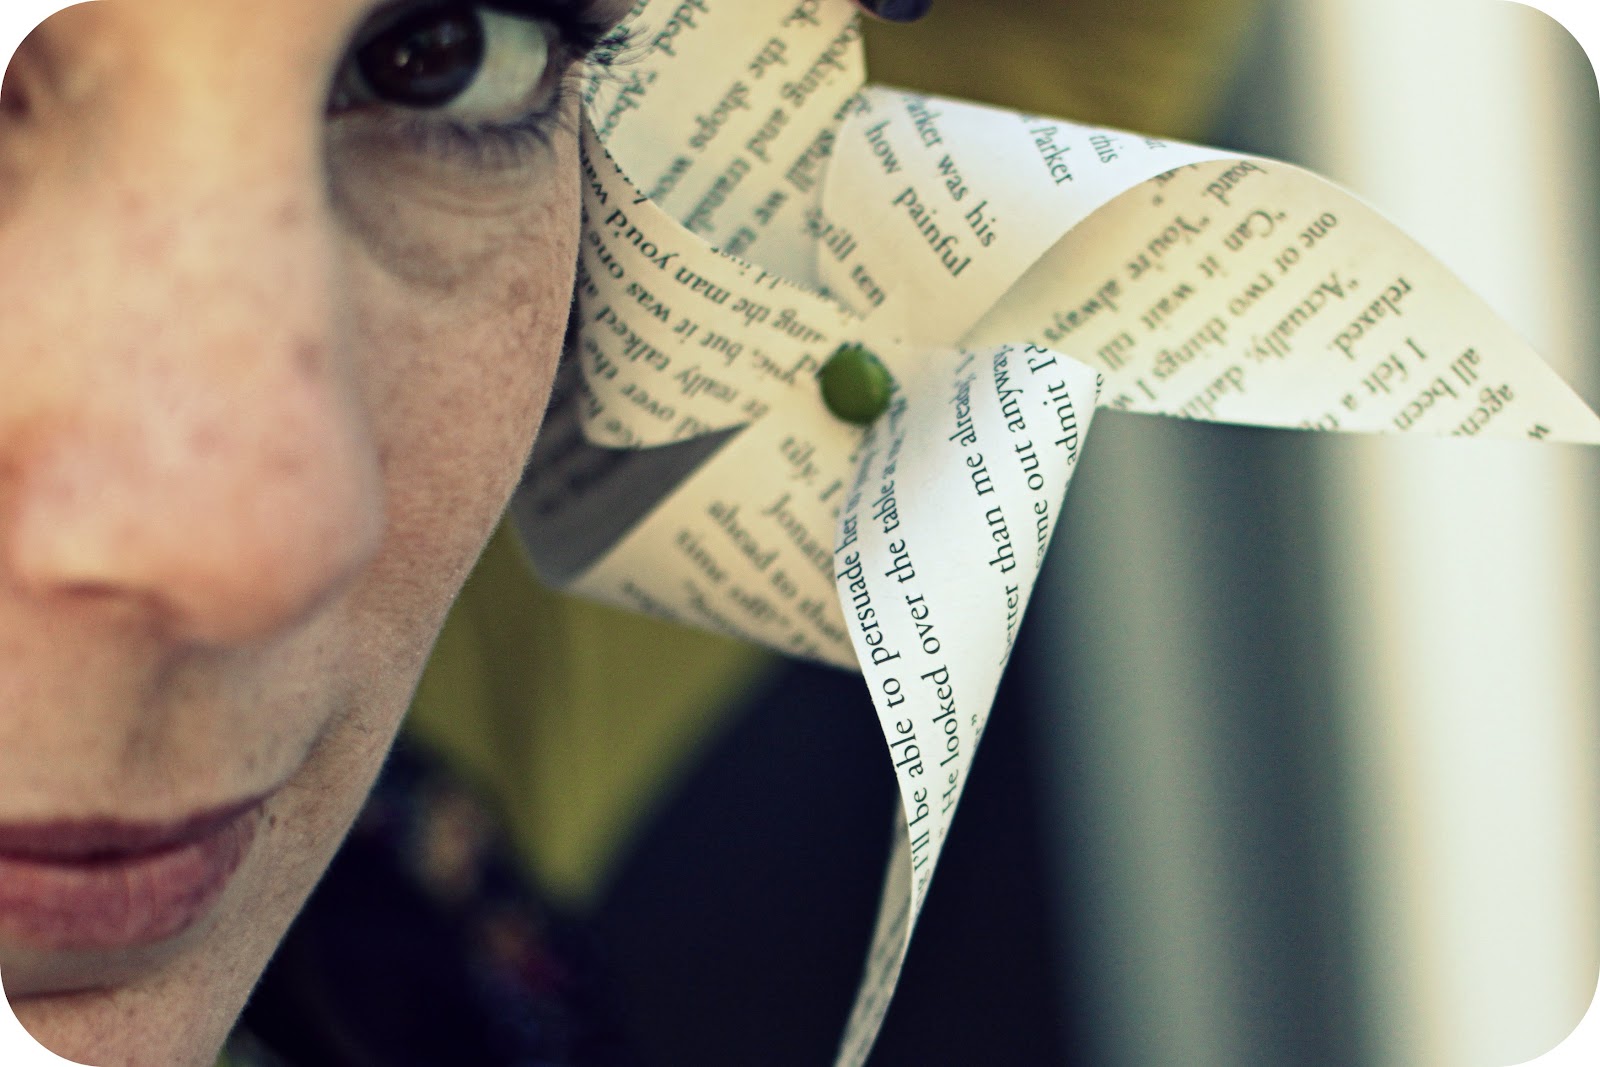
perfect pinwheel garland! (a tutorial)

let's make something super cute and EASY!


all you need:
scissors
paper cutter
pencil
brads
tiny hole punch or "super sharp tool that pokes holes in stuff"(you know?)
yarn, twine or ribbon
tiny clothes pins
1. cut any double sided paper (used book pages) to 4 1/2 inch squares.
2. with a pencil(i used sharpie on this one, for pictures), make your square look like this.

3. poke holes where the dots are.

4. cut on the lines until your scissors are about half an inch away from the middle hole.


5. stick the brad through each corner hole and then finally through the middle, and secure it.


6. now cut your yarn and clothes pin those little guys on there.

so easy huh?

some notes:

  • with thin book pages i did the pinwheel process with 3-7 pages at a time (just stacked them up)
  • this would be great to do with any leftover supplies from your adorable window valentines, but if it was double sided card stock, you'd have to do one at a time.
  • i suggest you hang the yarn where you want it and then clip those little pinwheels on after...
Now,  take your daughter outside and take ridiculously adorable photos of her, holding the pinwheels....you know you want to....or just bring her over here and let me do it since i probably want to  more than you do....


enjoy!
Related Posts Plugin for WordPress, Blogger...