Photobucket Photobucket Photobucket Photobucket Photobucket
Showing posts with label holiday. Show all posts

12.05.2011

You should do a Christmas album with Zooey.


So I've been watching a lot of "New Girl." You are too, right? Don't you love it? Like, in a light "this temporarily erases my memories of the kids throwing up today" kind of way?

But every time I watch it, I think, WOW, those outfits! Shauna would look so cute in that.

WOW, Shauna would buy that onesie in a heartbeat.

WOW, a red dress with turquoise shoes? Really???

Is she reading your mind?? It's getting weird, don't you think?

The most recent episode I saw, where Zooey's character is the LEADER OF A HANDBELL CHOIR was just so, so rad.

Did you know that the church I grew up at had a handbell choir? Yeah. They rocked it at every big occasion and were a GIVEN at Christmas time. Jon Acuff reminded me toinight about what a critical part of Christmas handbells are! Don't you agree?? (I cracked up at his post linked above on wanting your contemporary church to go oldschool at Christmas.)

So tell the truth. Did you ever play the handbells?


That outfit (minus the handbell gloves) has your name all over it!

The point? You and Zooey should do a Christmas album and throw in some handbells. You could wear matching onesies on the album cover too. Except then when she asks you to start a blog with her, it may break her heart when you said "No." You'd have to let her down gently.

Alright, enough of my late night silliness. Here's some of hers, from one of my all-time favorite Christmas movie scenes (turn up the volume, it's sorta quiet).


Photobucket

10.10.2011

Paper Candy Corn Bunting


I'm getting good at choosing crafts for my kids that are super speedy quick!

('Cause you know me. Detail oriented. Meticulous. Overly ambitious. Practically killed the MOPS moms with complicated craftiness...)

So I'm growing as a person, here.

We don't have a lot of afternoon free time now that we have homework, chores, and all that regular life stuff. But it's still really important to me to keep the creativity flowin' in my house. And I know, personally, that it is calming and therapeutic to work with one's hands. I know you know that too.

So our fingerprint placemats were perfect for a fast and easy weekday craft session. And so is this.

Paper Candy Corn Bunting

When I saw the idea for this, it was done on white paper plates and there was gluing and layering involved. But I don't have any plain white paper plates, and I'm a fan of doing crafts with stuff I already have around the house. Plus I found the layering and gluing unnecessary.

I did have a sheet of white poster board. And a compass. Mmmm. Love that maker of perfect circles (see above link for "overly ambitious").


OK. Bear with the geometry here, dude. It's not hard.

I drew concentric circles, at 6" (on the compass, meaning that's the radius), 4" and 2", in pencil. (So the diameters of the circles are 12", 8" and 4".)


If you want to change the size, just remember that the radius of the circle (halfway across) will be the length of each candy corn.

I don't think you, little lady, have a compass. And I know you'd much rather just find three circular thingys of different sizes in your house and trace them. I'd stress out about not getting the centers to line up, but you wouldn't, and that's why I like you.

My little Lover of Candy Corn filled in the circles with acrylic paint while she looked at ate real candy corn to make sure she got the order of colors correct.


She even painted the white. Yes, it's white on white paper, but the texture looks better than smooth paper when the rest is painted. Like I said. Details.

Also, she painted the outside, then center, then middle stripe with a few minutes inbetween, so there was no  blending of wet paints.


{Next, a wiener dog walked over the wet paint, but that step is optional.}

We let them dry. Cut out the big circles. Then cut the circles into 8 pie pieces, cutting first into halves, then quarters, then eighths. Three big circles yield 24 pie pieces.


We punched little holes and tied them together with black ribbons.


Done. Isn't it so cute??

It fits in perfectly with Classy Spooky.


Oh, and for another super cute and easy October idea, check out this post. You know my kids are suckers for tie-dye. Tie-dye plus pumpkin faces equals happy times, and, I'm thinking, some cute fall PJ tops.

Whadya think?


Photobucket

6.19.2011

Sweet words for dad


Just wanted to show you this graphic I made today for my man.

I have to admit the saying was lifted off something my mom saw in her church's bookstore.

(The free background was from here.)


My man is truly my son's hero.

And my daughter's love.

Good dads are hot, and I'm so glad ours is ours.

I hope you all had a Happy Father's Day!  


Photobucket


Photobucket

2.14.2011

It's Business Time

Am I really posting this?

Yes I am. My hubs and I used to love that show Flight of the Conchords. It was an HBO program (I think), not that we ever had HBO, which is why I'm not certain it was on that station. But we owned the first two season DVDs. I'm also not certain there were more than two seasons at all.

Anyway, Bret and Jemaine, who are from New Zealand and are members of the "folk parody" band Flight of the Conchords are so stinkin' hilarious. A friend posted this the other day, and I was reminded of this funny, funny song from one of their episodes.

When better to share it than on Valentine's Day??

Aww, sweet love and....business time.

Get out your business socks.


{press pause on the mixpod before playing}

1.28.2011

perfect pinwheel garland! (a tutorial)

let's make something super cute and EASY!


all you need:
scissors
paper cutter
pencil
brads
tiny hole punch or "super sharp tool that pokes holes in stuff"(you know?)
yarn, twine or ribbon
tiny clothes pins
1. cut any double sided paper (used book pages) to 4 1/2 inch squares.
2. with a pencil(i used sharpie on this one, for pictures), make your square look like this.

3. poke holes where the dots are.

4. cut on the lines until your scissors are about half an inch away from the middle hole.


5. stick the brad through each corner hole and then finally through the middle, and secure it.


6. now cut your yarn and clothes pin those little guys on there.

so easy huh?

some notes:

  • with thin book pages i did the pinwheel process with 3-7 pages at a time (just stacked them up)
  • this would be great to do with any leftover supplies from your adorable window valentinesbut if it was double sided card stock, you'd have to do one at a time.
  • i suggest you hang the yarn where you want it and then clip those little pinwheels on after...
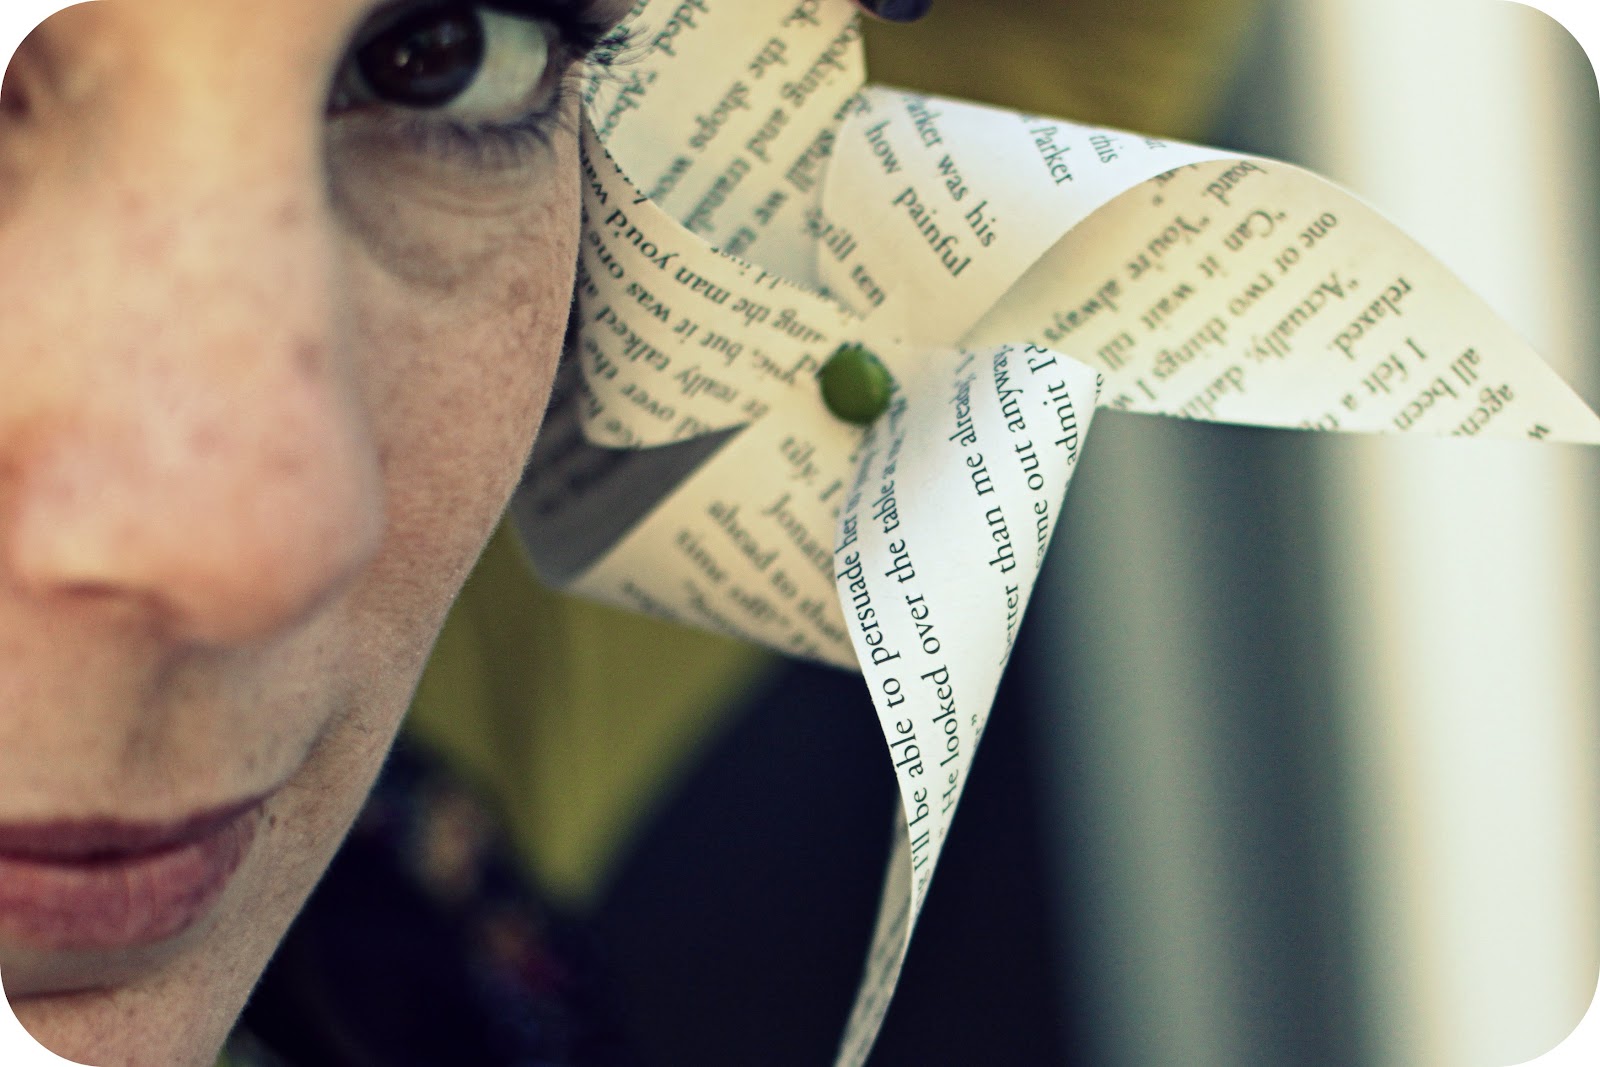
Now,  take your daughter outside and take ridiculously adorable photos of her, holding the pinwheels....you know you want to....or just bring her over here and let me do it since i probably want to  more than you do....


enjoy!

1.23.2011

I heart Window Valentines {a tutorial!}


{this should be read in the same tone as Chris Farley when he'd do that talk show sketch on SNL}

'Member that time I was the craft coordinator for MOPS? And I was like a baby crafter who just fumbled her way through leading forty women in a craft every week? And 'member how sometimes I would make them do crafts some felt were a little too "advanced", 'cause I really liked crafts? And 'member how half the people in MOPS actually HATED crafts? And some snickered and complained, and then others would just smile sweetly then try to talk me into giving them the samples instead of actually having to do it?

'Member that?

That was awesome.

Well, if I remember correctly, I think making Window Valentines was one of the crafts I led in MOPS that everyone actually loved. It was easy, useful, and successful at all the tables.

Today, my kids are home sick. Boo hoo. But kind of not boo hoo because we had a big bag of Valentine making supplies! So I took pics of each step in case you wanted to be a copy-cat.

These turn out so amazing, and I've made them simpler than in the MOPS days.

I had a little Valentine-making protege too, though she had her own ideas about how hers were going to look. (Of course. Why would I expect anything else?)


[disclaimer for everyone else reading this: I do not scrapbook. I am not a scrapper. I don't have lots of scrappy supplies and cutie bits of things that could make these even cuter. So if you do, go to town. Today I just wanted to get some done with two small people in my midst.]

So here we go. WINDOW VALENTINES

STEP 1: Cut 2 different kinds of paper or cardstock into 5"x7" sheets and find a sharp cutting tool. One of the papers SHOULD be double-sided. (For MOPS, I spray adhesived two coordinating papers together, back-to-back instead. What was I thinking?)


STEP 2: On the back side of the double-sided paper, mark four dots, about 1.5" in from the top and bottom edges at each corner. After you do a couple, you won't have to mark the dots. You can eyeball it.


STEP 3: Using the cutting tool and a ruler, cut an X, connecting the dots.


STEP 4: Stack the "X" paper on top of the other paper. Using a small hole punch, fold back each corner, one at a time, and punch through the point of the top layer and the bottom layer of the card.


STEP 5: Secure three of the four points down with brads. Leave one open so that you can slide in a photo or a note or something.


STEP 6: Secure the last point down with a brad and write your message on the back.


If you don't fold your points past the edge of the base paper (like I did), you can fit these Valentines into 5x7 envelopes for mailing. But I like the points to poke over the edges.

Flip your double-sided paper around and make cards with the opposite colorations too. Here are mine, all ready for my messages of love to finish them off.


I kind of love the one with the 5"x5" piece of paper on top of the 5"x7" one.


Sometimes my experimental ones turn out to be my favorites. I put some fancy chipboard pieces in the window of some of them too. That window just begs for creativity. I wish I had some pretty paper doilies to cut up.


Since I started off with 12"x12" sheets, I was able to cut two 5"x7" cards and two 5"x5" cards out of one sheet. That is a good bargain, since I paid only $0.25 per sheet. Look how cute the square cards look with an old-fashioned photo inside? This is my grandparents. They live in Oklahoma, so I miss them always.


Here are my little friend's creations. Isn't she good? She made 35 Valentines. I love how her choices of paper and her simple ideas became a pile of results. She was really proud of herself.


I know you know this. But perhaps the best thing about projects is not necessarily the result; I may love the sense of accomplishment best of all.

Happy Valentining, friend.


Photobucket
Related Posts Plugin for WordPress, Blogger...